Friday, September 27, 2013

22nd Posting - More adobe, trim, doors, and windows

I didn't get out to my cabin nearly as often this summer as I would have liked, but now it's fairly well weatherized and sealed, so this winter I can work on the interior, even if the weather doesn't cooperate.
We were trying to figure out what to do with the exterior of the upper framed part, and as we had some of the roofing left over, we decided to put it on that portion of the wall. Good use of the leftover!
Then there was lots of 'little' adobe work to do. Decided to put adobe right up to the roof joists and seal it that way. It worked well and looked nice.
My sister Valerie started work on trimming out the windows on the inside. My brother Vance came for a day and helped finish installing the other half of the big picture window (we put in two windows together!) and got the side door installed.
This past week, 3rd week in September, my friend Phil from Illinois helped for a couple days and we did a lot of adobe work. We got the rest of the first coat on everywhere, trimming around all the doors and windows. We even got one batch of the final, smooth coat on. It looks like it's going to be really good, but I won't have another chance to do adobe work now until spring, as I'll be gone until December!
It's coming along slowly, but it's always fun to get a chance to work on the cabin!

Putting asphalt roofing on the upper back wall.

Asphalt roofing on the upper side wall.

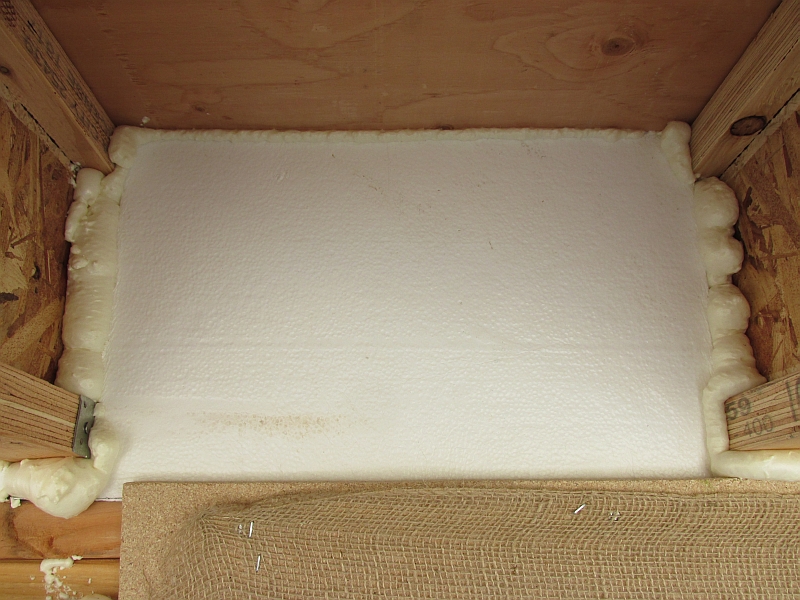
Extending the adobe from the walls on up into the roof I-joists.

Valerie works on trimming out the south window.

The trim is looking good!

Vance works on the side door.

Vance admires our double picture window - it will provide good insulation value!

Phil throws mud to trim out the exterior of the south window.

All trimmed - it will dry the same color as the adobe around it.

Door and window on the inside after the trim adobe is on.

And Phil applies the first batch of smooth, final coat adobe. Nice!


Monday, June 10, 2013

21st Posting - Front Door and Picture Window installed


My sister Valerie helped me install the front door and we got it perfect. It just swings shut and latches as nice as can be. There is still a lot of trimming and more adobe work to do before the outside is finished, but it sure looks and feels like a cabin now!

The latest look of the cabin with door and windows installed, June 2013.

Mom and I pose (with Duke) in front of the cabin and front door.

Valerie looks in through the newly-installed front door.

View through the front picture window - the window is 6' high and 5' wide.

Wildflowers are popping up all over with abundant rainfall end of May.


Wednesday, May 8, 2013

20th Posting - The Roof is done and windows are getting installed

Big progress! It's really looking like a cabin now. As I take off for another tour, I leave the cabin with a roof with the roofing finished, and three windows installed! I love walking into the cabin and looking up at the high back wall (12') and the two east windows in it. It feels much bigger than I had envisioned it while building.
In the first picture below you can see the finished roof and the installed south window. You may also notice in the photos that we have burlap stapled to the upper wood walls. That is so when we put adobe on later it will still better than just to plywood. Adobe will go right up to the roof line. Around the windows we will apply adobe up to the edges to finish them off.

The roof with rolled roofing and the installed south window.

Photo taken from half a mile away with zoom, to show how it blends into the landscape.

My sister Valerie helps install the studs on the side wall.

Ruth does a balancing act putting nails in the plywood.
Ruth came out from Indiana for a week to help finish the roof and work on the windows.

Between the I-joists we put sturdy pieces of foam board.

We solidified the foam board with expandable spray insulation.

Ruth tacks on some of the roofing.

Above the door and window frames we filled the gaps with foam board.

Then we put adobe over the foam board to finish and insulate the gaps.

The 'kitchen' window has adobe all around it now.

The south window is installed. Adobe to follow.

Looking at the newly-installed south window and west kitchen window.

My friend Kathy Aaron helped with windows and models the kitchen window and front of the cabin.
The beginning of June I hope to get the other windows and the two doors installed. Wow.


Monday, April 15, 2013

19th Posting - The Cabin has a ROOF!!

The cabin finally has a roof!
My sister Valerie helped me quite a bit with it. At this point, the I-joists are up, the plywood is laid, and it is covered with tar paper. I'll be gone a week now, but end of April we plan to put the final roofing on and do a lot of the 'little' work involved with finishing off the roof, as well as put on another coat of adobe! Still lots of work to do, but now it really looks like a cabin!

My cabin with a roof

Valerie hammers in the last of the brackets that will hold the I-joists.

On Wednesday, April 10, Simkins-Hallin delivered 20 24-foot I-joists,
as well as the plywood to cover them. 

A balancing act, putting on the I-joists 

Laying the I-joists in their brackets

Valerie admires our finished product.
We got all the I-joists in place that afternoon yet. 

And we got one sheet of plywood laid before calling it a day.

Thursday I spent the day working on the roof alone. I got all the rest of the plywood on the roof.

Side view with all the plywood on.

Friday, Valerie and Elgin came out again to help finish securing the plywood, and we also trimmed the edges all around. Elgin is a good nailer!

By Friday evening it began to look like a respectable cabin.

The inside of the cabin looks much different with a roof overhead! 

Saturday I was back at work putting tar paper over the plywood.
The late-evening light illuminates the landscape and the tar-papered roof.

Mother came out Monday to inspect the progress and was duly impressed!


Friday, January 25, 2013

18th Posting - Top of Back Wall Framed Up

Work on the 'roof' has begun, even in January! The walls are built to over 8 feet high all around, and  on Thursday my sister Valerie and I framed up the back wall another 3 feet with 2x6's and two very sturdy window frames for a couple 2x3 windows. It was a beautiful day in the 40's and we finished just after sunset. The next step will be laying I-Joists from the back wall to the front wall and then the plywood is ready to go on the roof.

The top of the back wall, viewed from behind the cabin, with a sunset in the background.

The 3-foot wall viewed from the south end of the cabin looking uphill.